


모든 노트 목록 표시하기
모든 노트 목록 보기
이제 새로운 노트를 생성할 수 있으니, 사용자가 생성한 모든 노트 목록을 볼 수 있는 페이지를 만들어 보겠습니다. 이 페이지는 홈페이지로 사용하는 것이 적절해 보입니다(랜딩 페이지에는 / 라우트를 사용하지만). 따라서 사용자 세션에 따라 랜딩 페이지나 홈페이지를 조건부로 렌더링하면 됩니다.
현재 우리의 Home 컨테이너는 매우 간단합니다. 여기에 조건부 렌더링을 추가해 보겠습니다.

src/containers/Home.tsx를 다음 코드로 교체하세요.
import { useState } from "react";
import ListGroup from "react-bootstrap/ListGroup";
import { useAppContext } from "../lib/contextLib";
import "./Home.css";
export default function Home() {
const [notes, setNotes] = useState([]);
const { isAuthenticated } = useAppContext();
const [isLoading, setIsLoading] = useState(true);
function renderNotesList(notes: { [key: string | symbol]: any }) {
return null;
}
function renderLander() {
return (
<div className="lander">
<h1>Scratch</h1>
<p className="text-muted">간단한 노트 작성 앱</p>
</div>
);
}
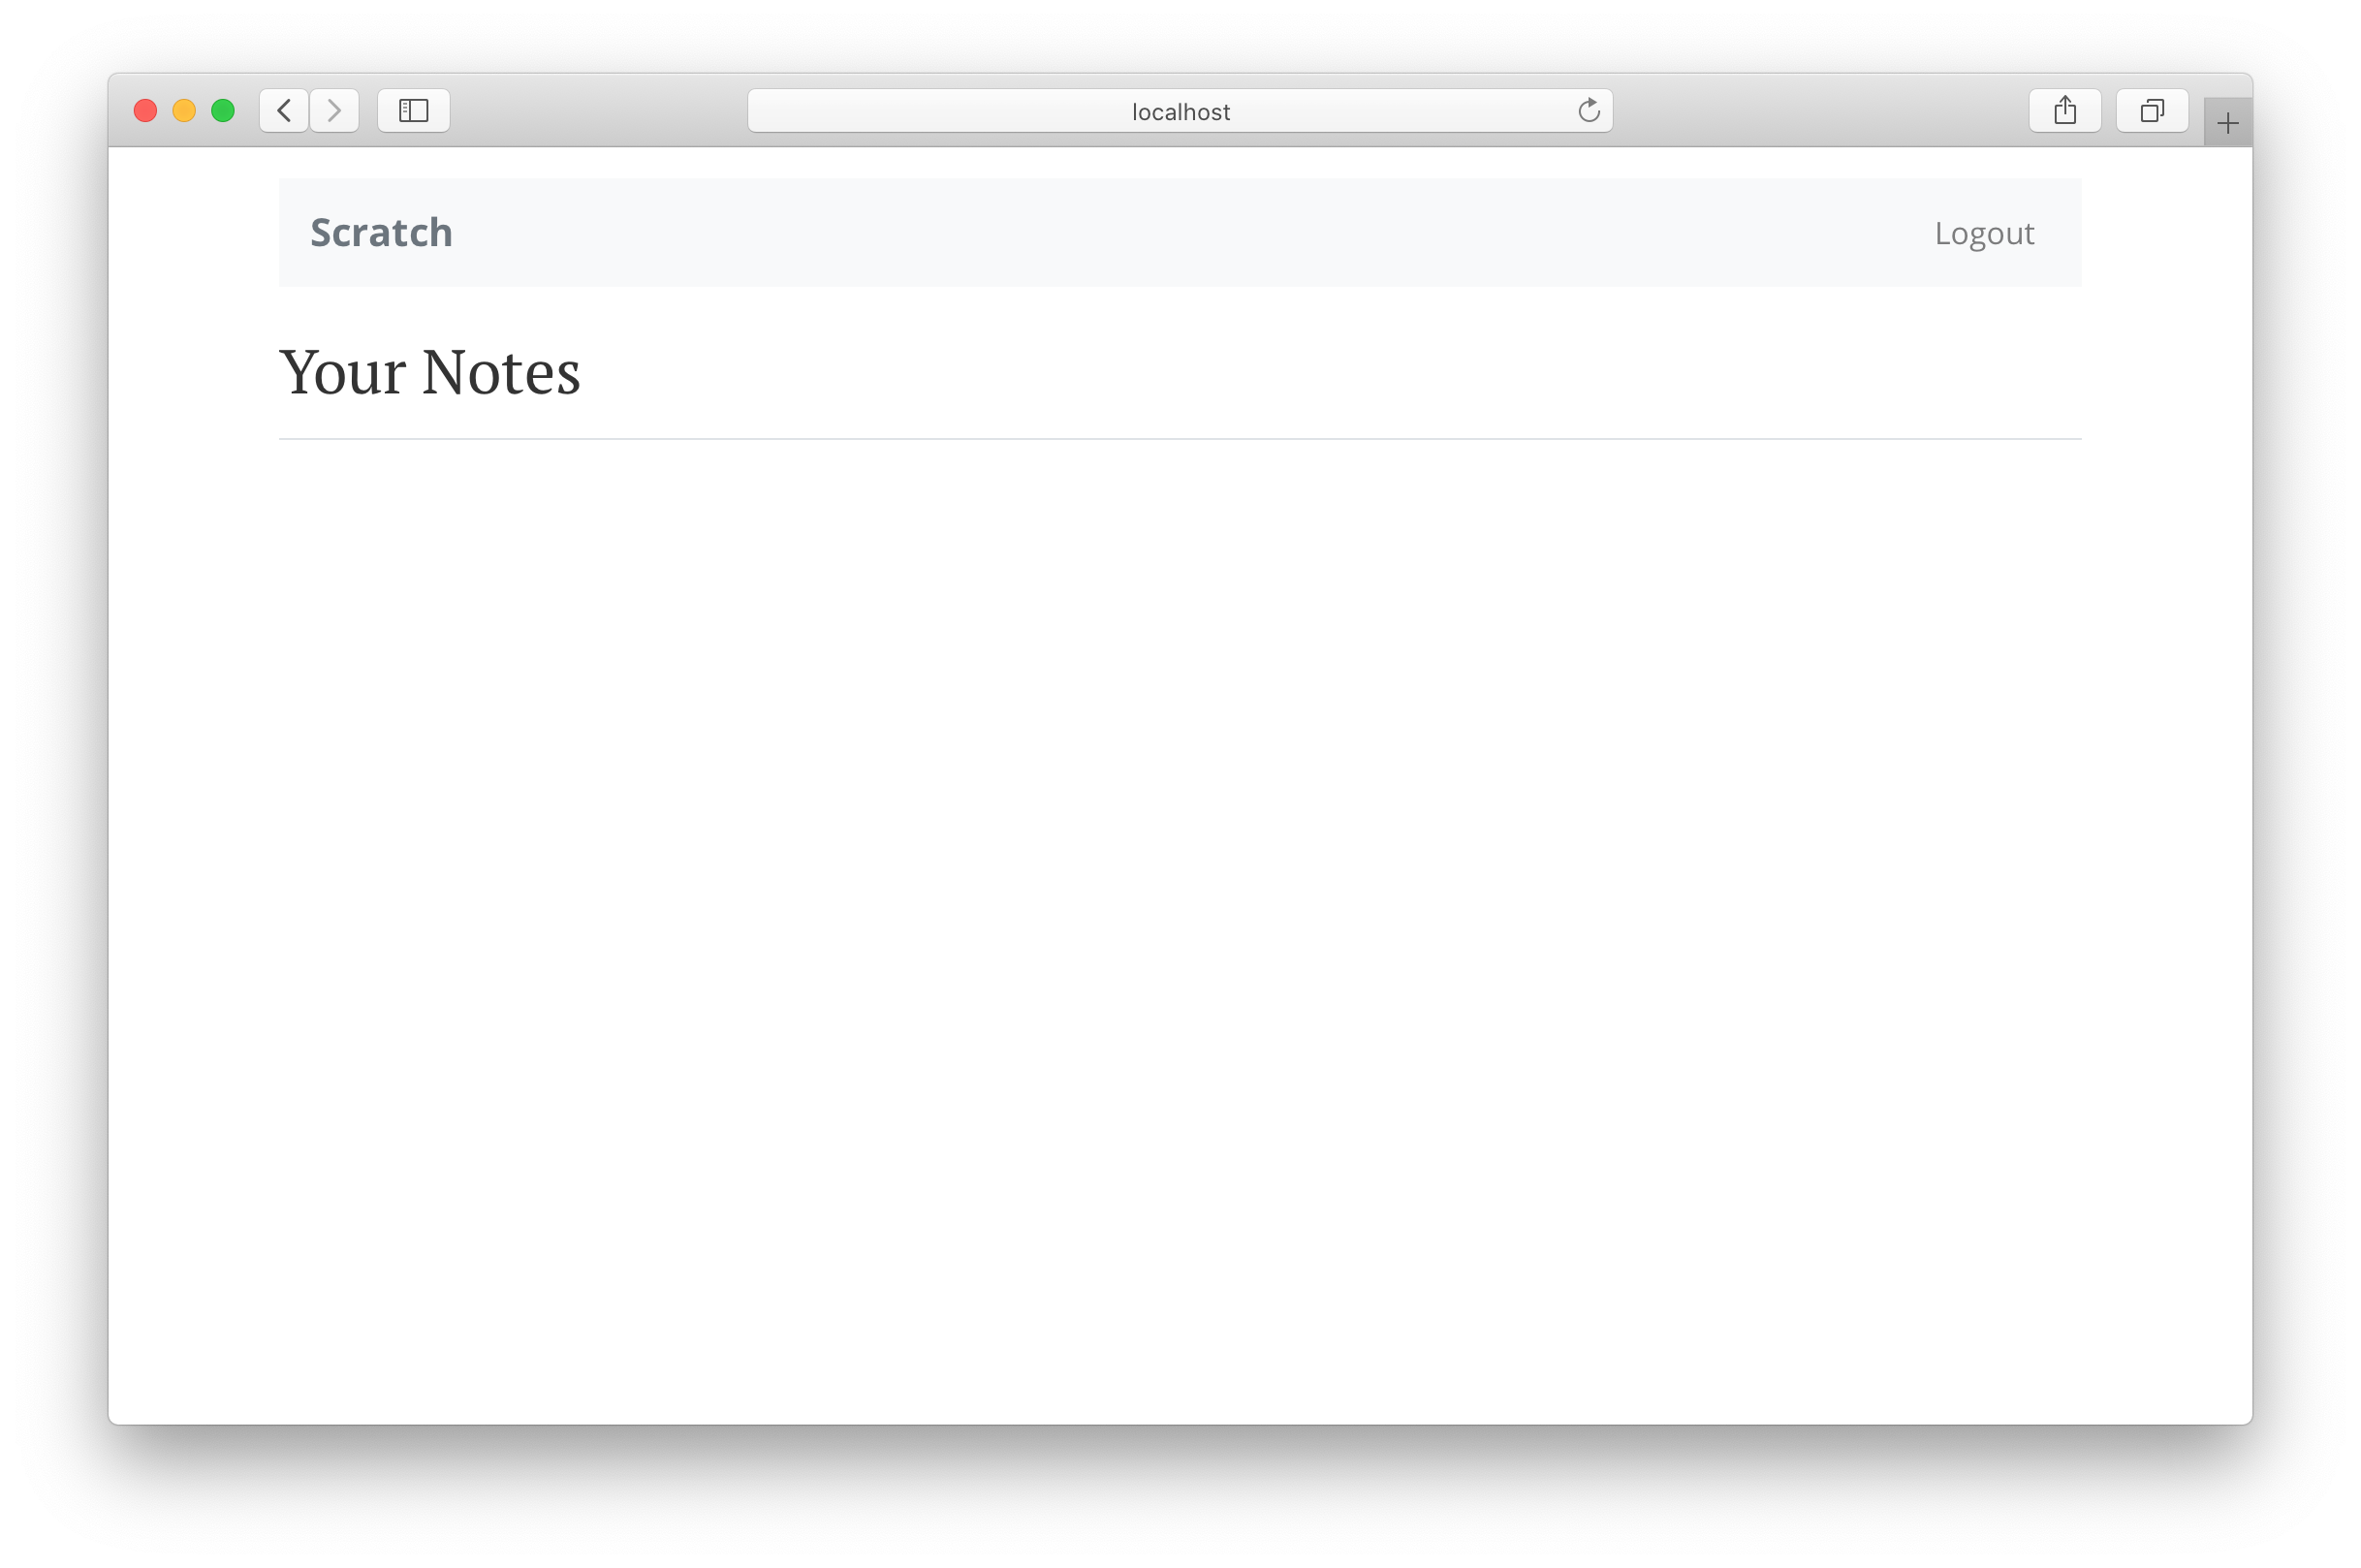
function renderNotes() {
return (
<div className="notes">
<h2 className="pb-3 mt-4 mb-3 border-bottom">내 노트</h2>
<ListGroup>{!isLoading && renderNotesList(notes)}</ListGroup>
</div>
);
}
return (
<div className="Home">
{isAuthenticated ? renderNotes() : renderLander()}
</div>
);
}
여기서 몇 가지 중요한 작업을 수행하고 있습니다:
-
앱 컨텍스트의
isAuthenticated플래그를 기반으로 랜딩 페이지 또는 노트 목록을 렌더링합니다.{ isAuthenticated ? renderNotes() : renderLander(); } -
노트를 상태에 저장합니다. 현재는 비어 있지만, 나중에 API를 호출하여 데이터를 가져올 것입니다.
-
목록을 가져온 후
renderNotesList메서드를 사용하여 목록 항목을 렌더링합니다. -
Bootstrap 유틸리티 클래스인
pb-3(패딩 하단),mt-4(마진 상단),mb-3(마진 하단),border-bottom을 사용하여 내 노트 헤더를 스타일링합니다.
이것이 기본 설정입니다! 브라우저로 이동하면 앱의 홈페이지가 빈 목록을 렌더링할 것입니다.
다음으로 이 목록을 API로 채워 보겠습니다.
For help and discussion
Comments on this chapter